Blog Archives
Finished project: Printer version 1
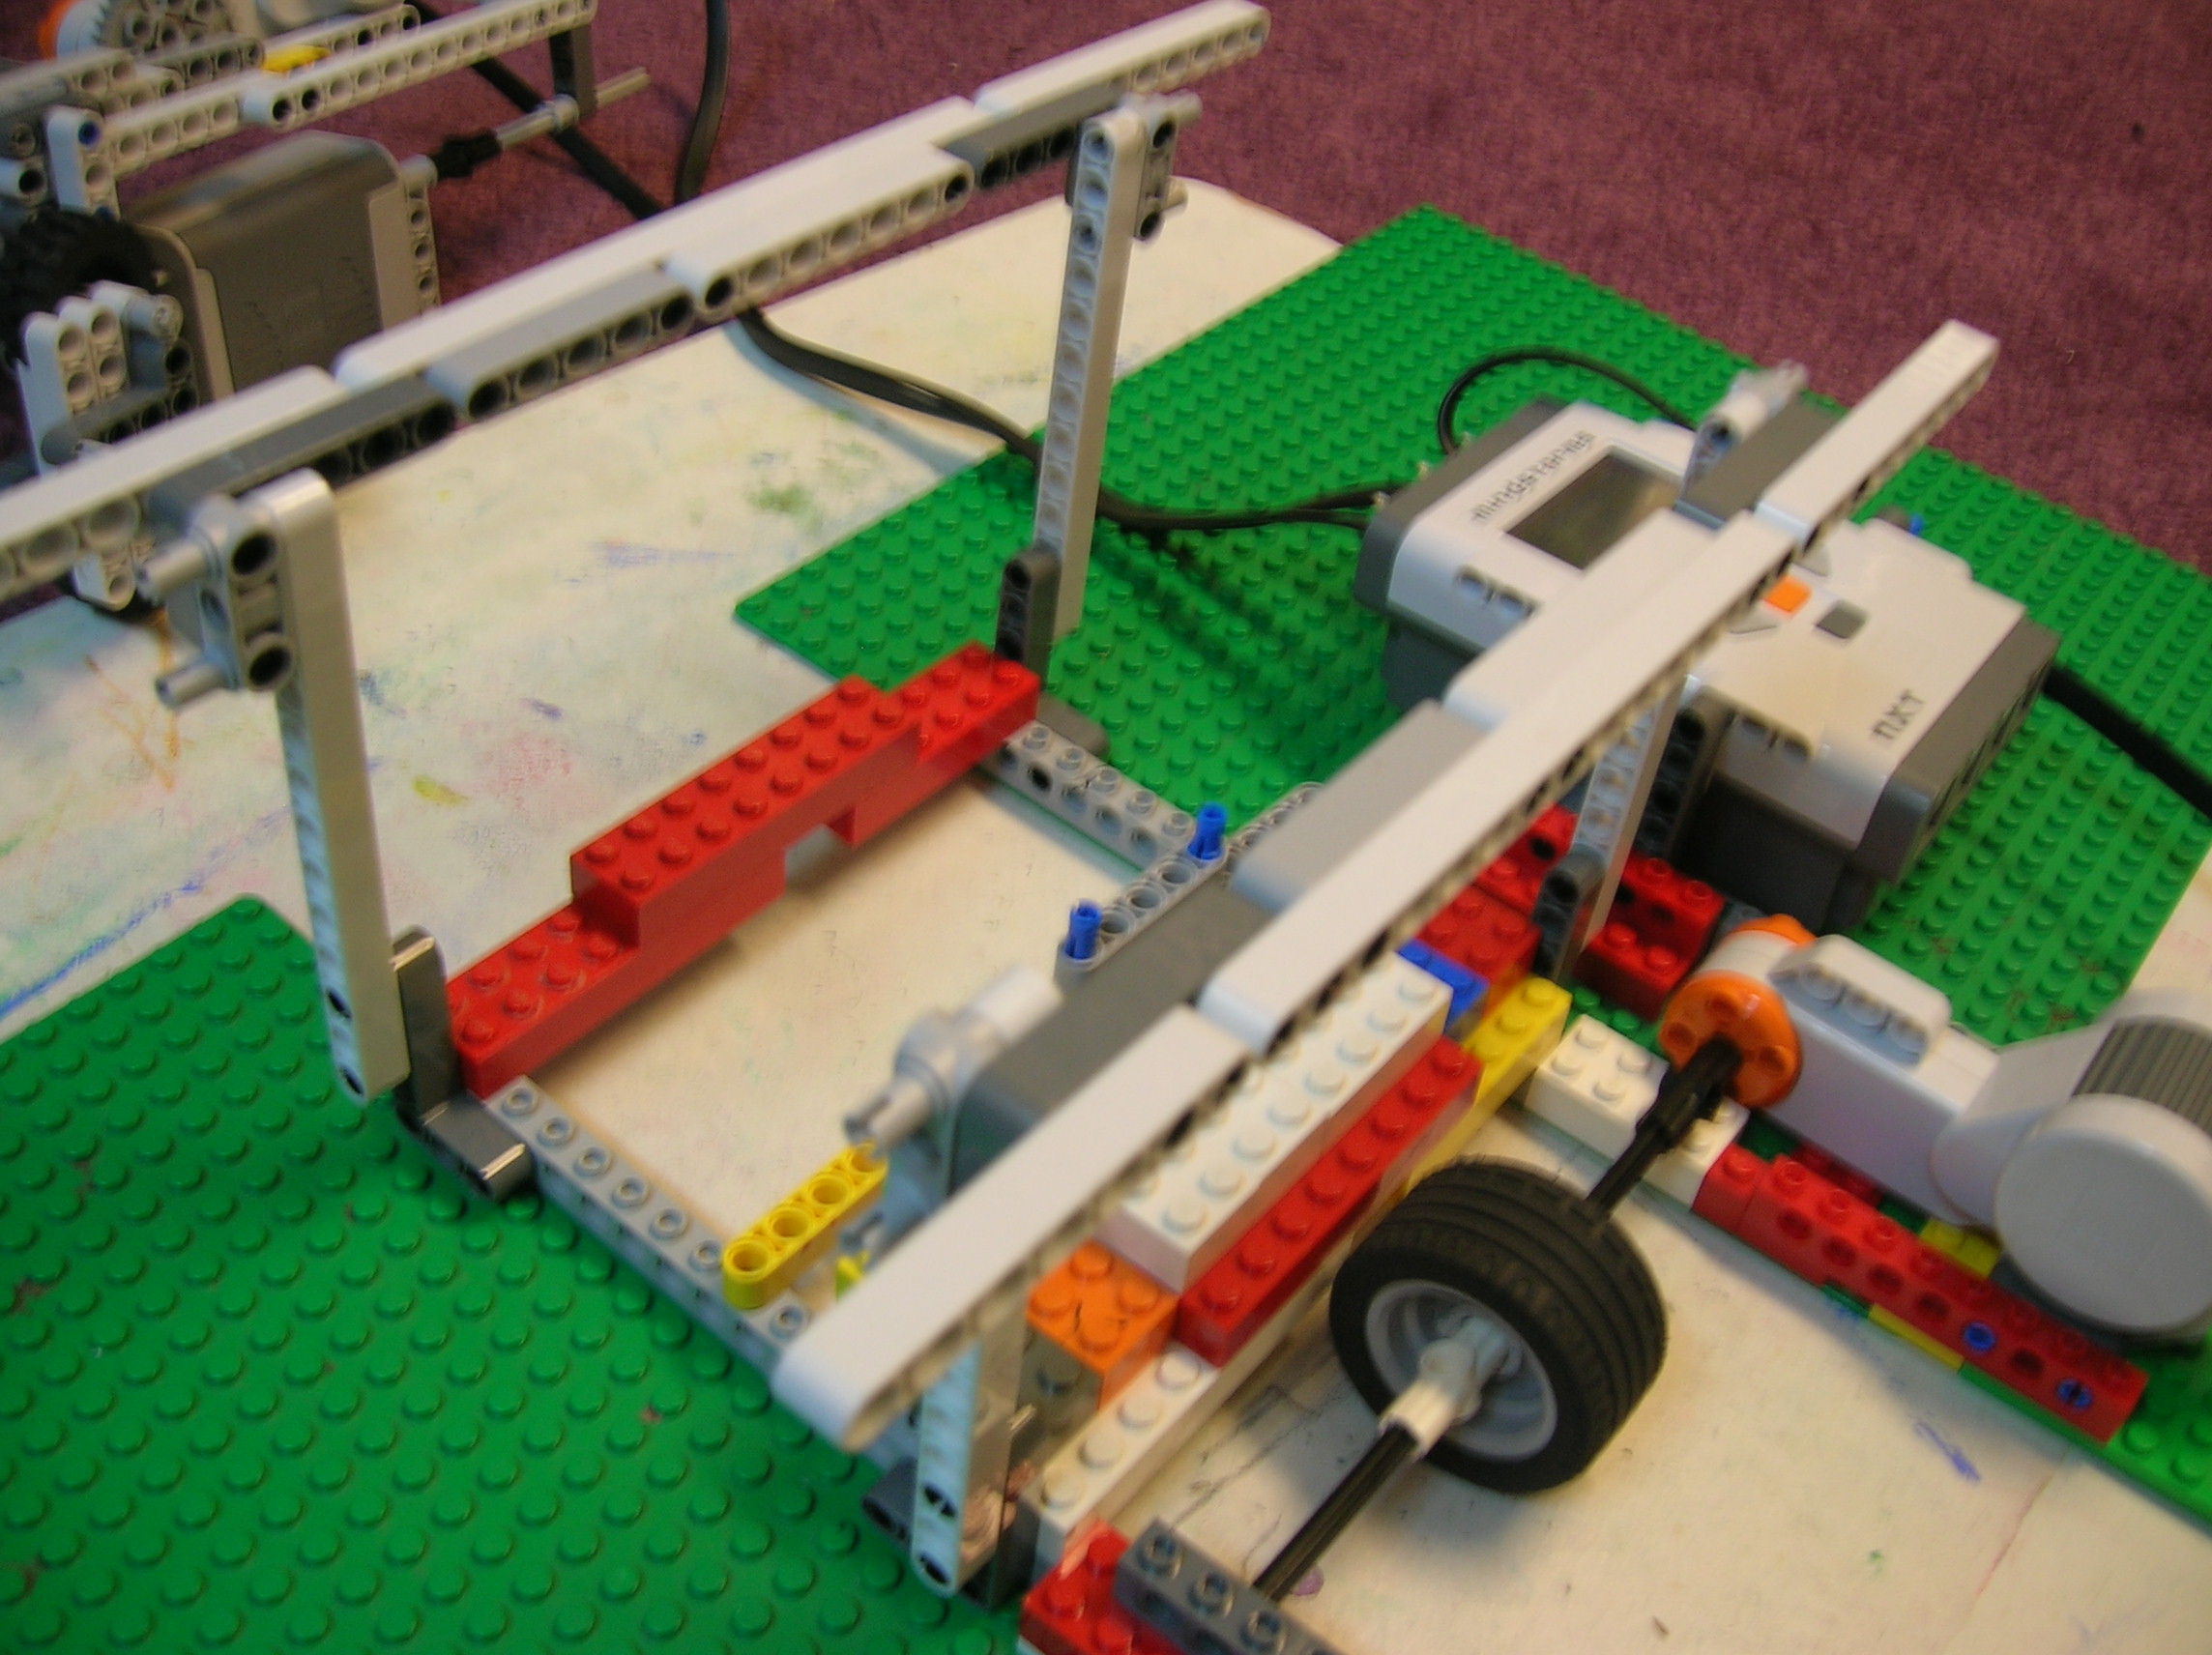
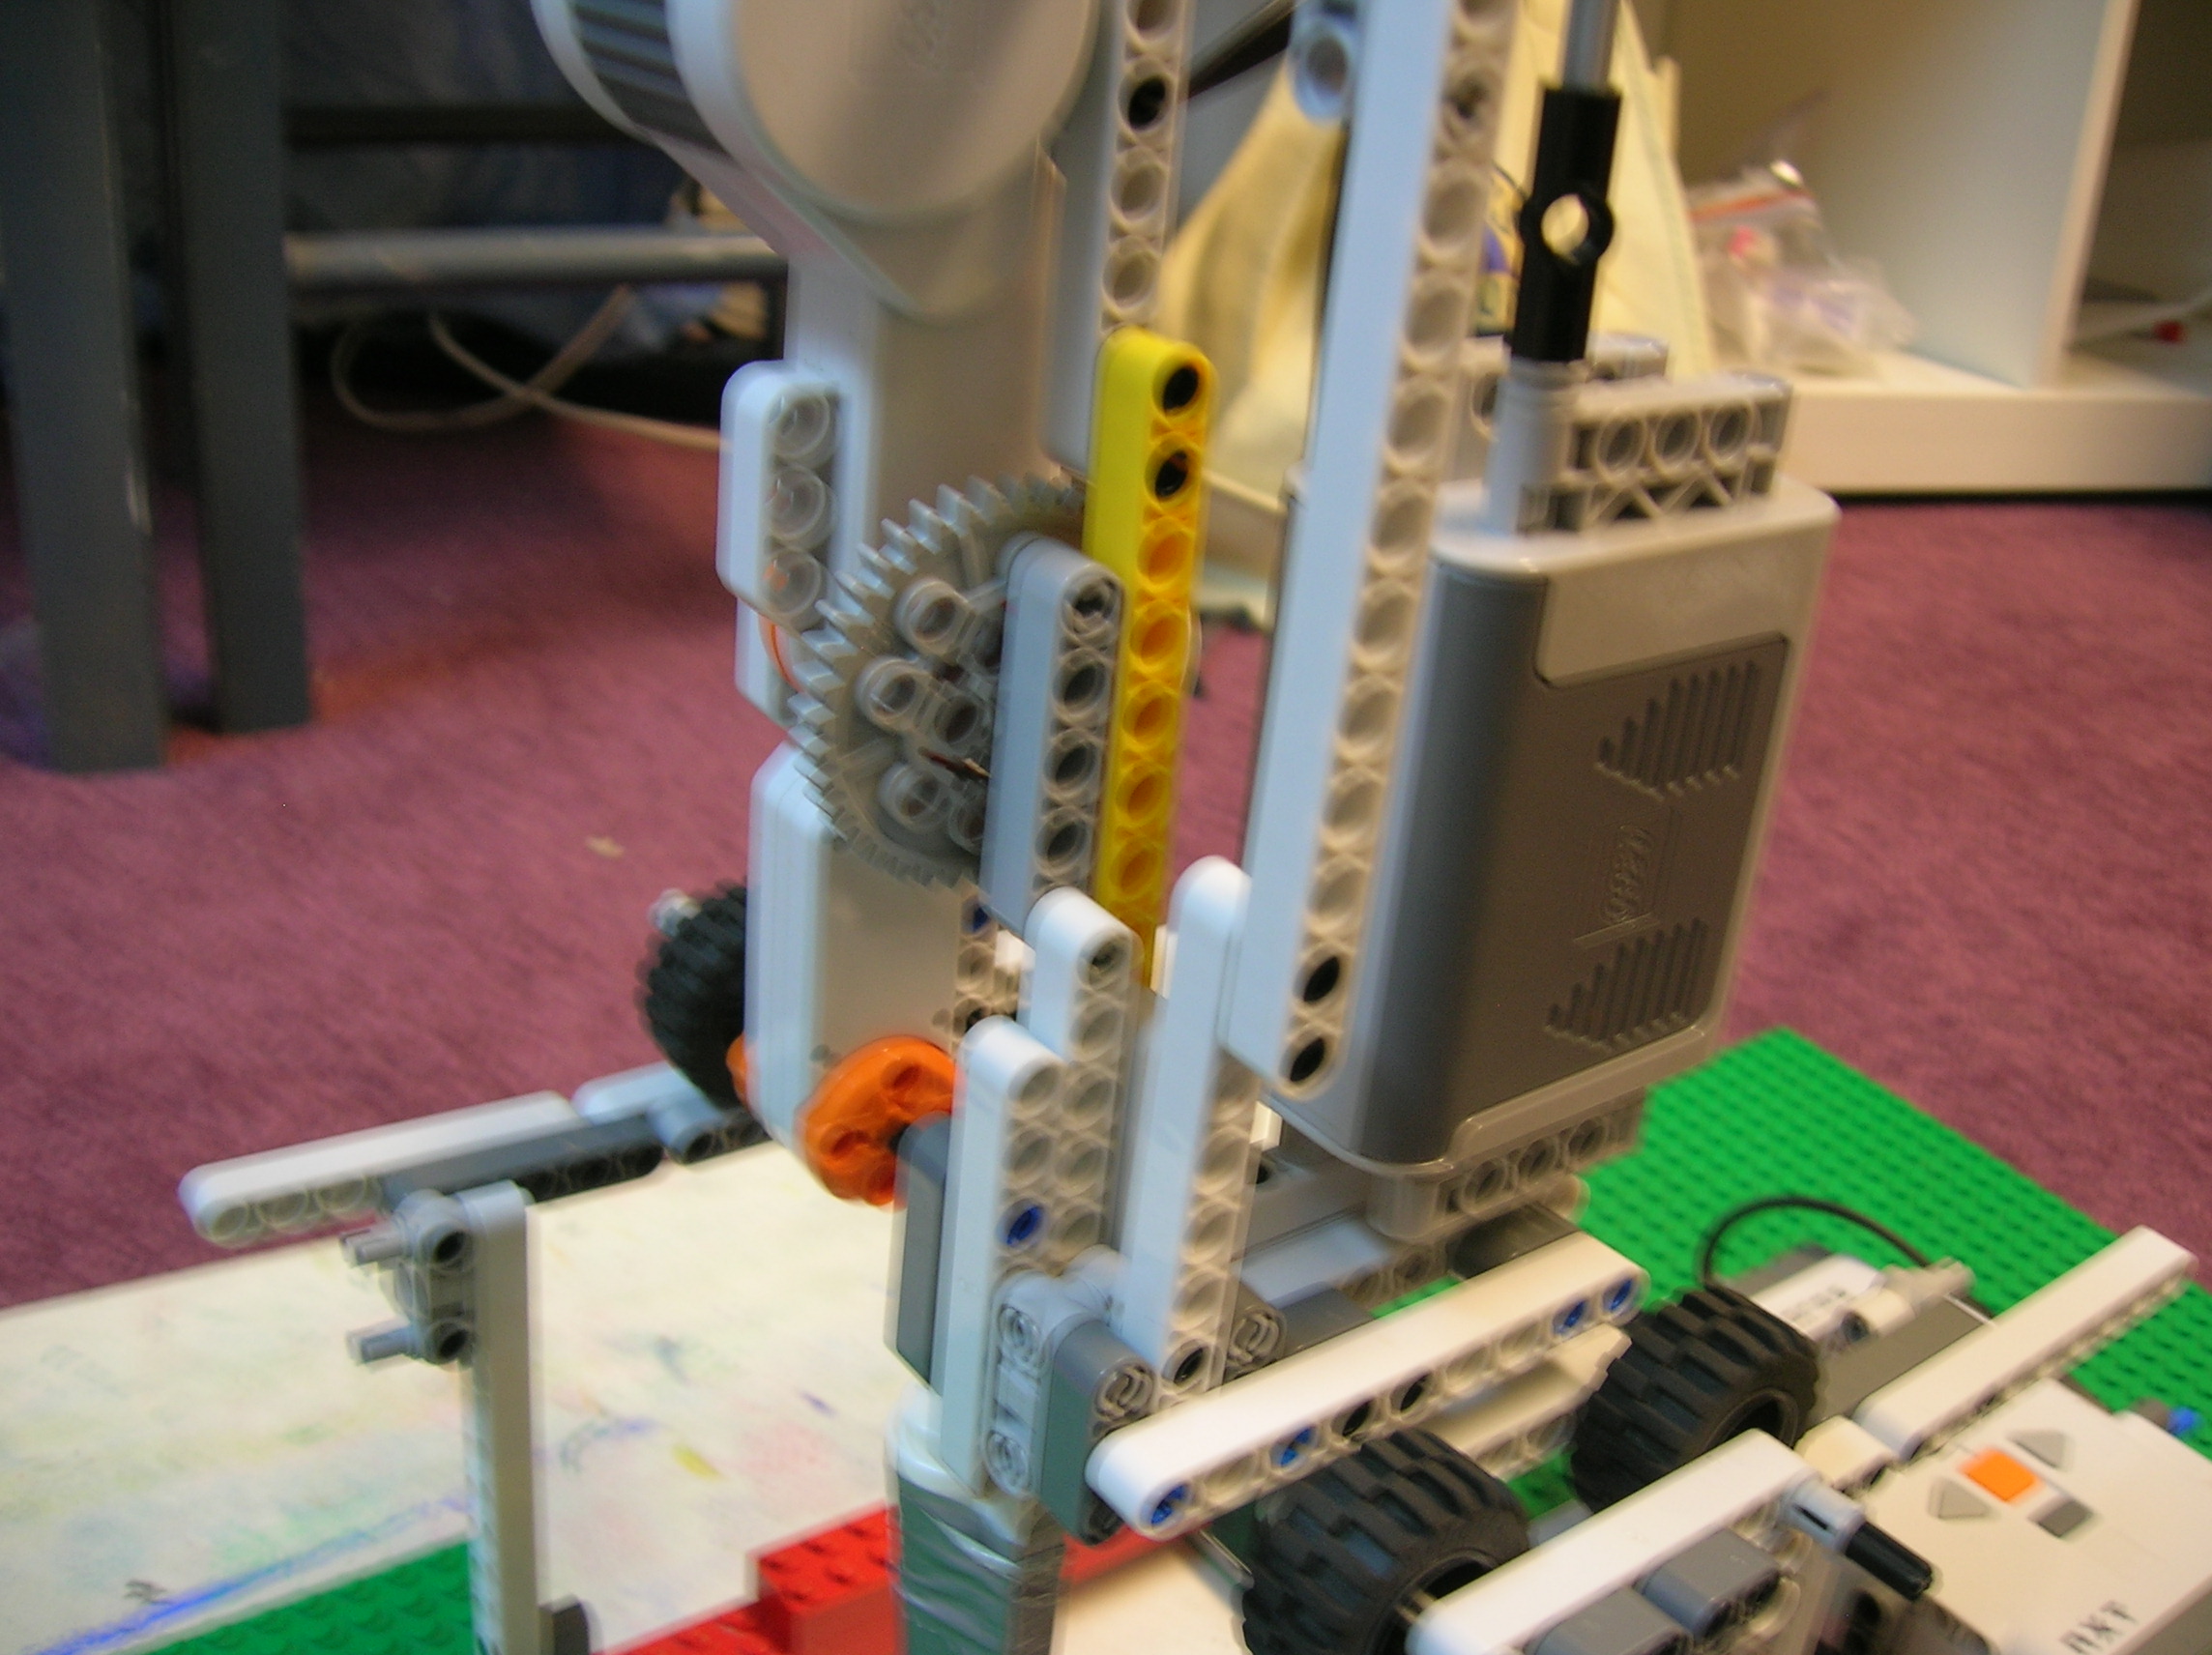
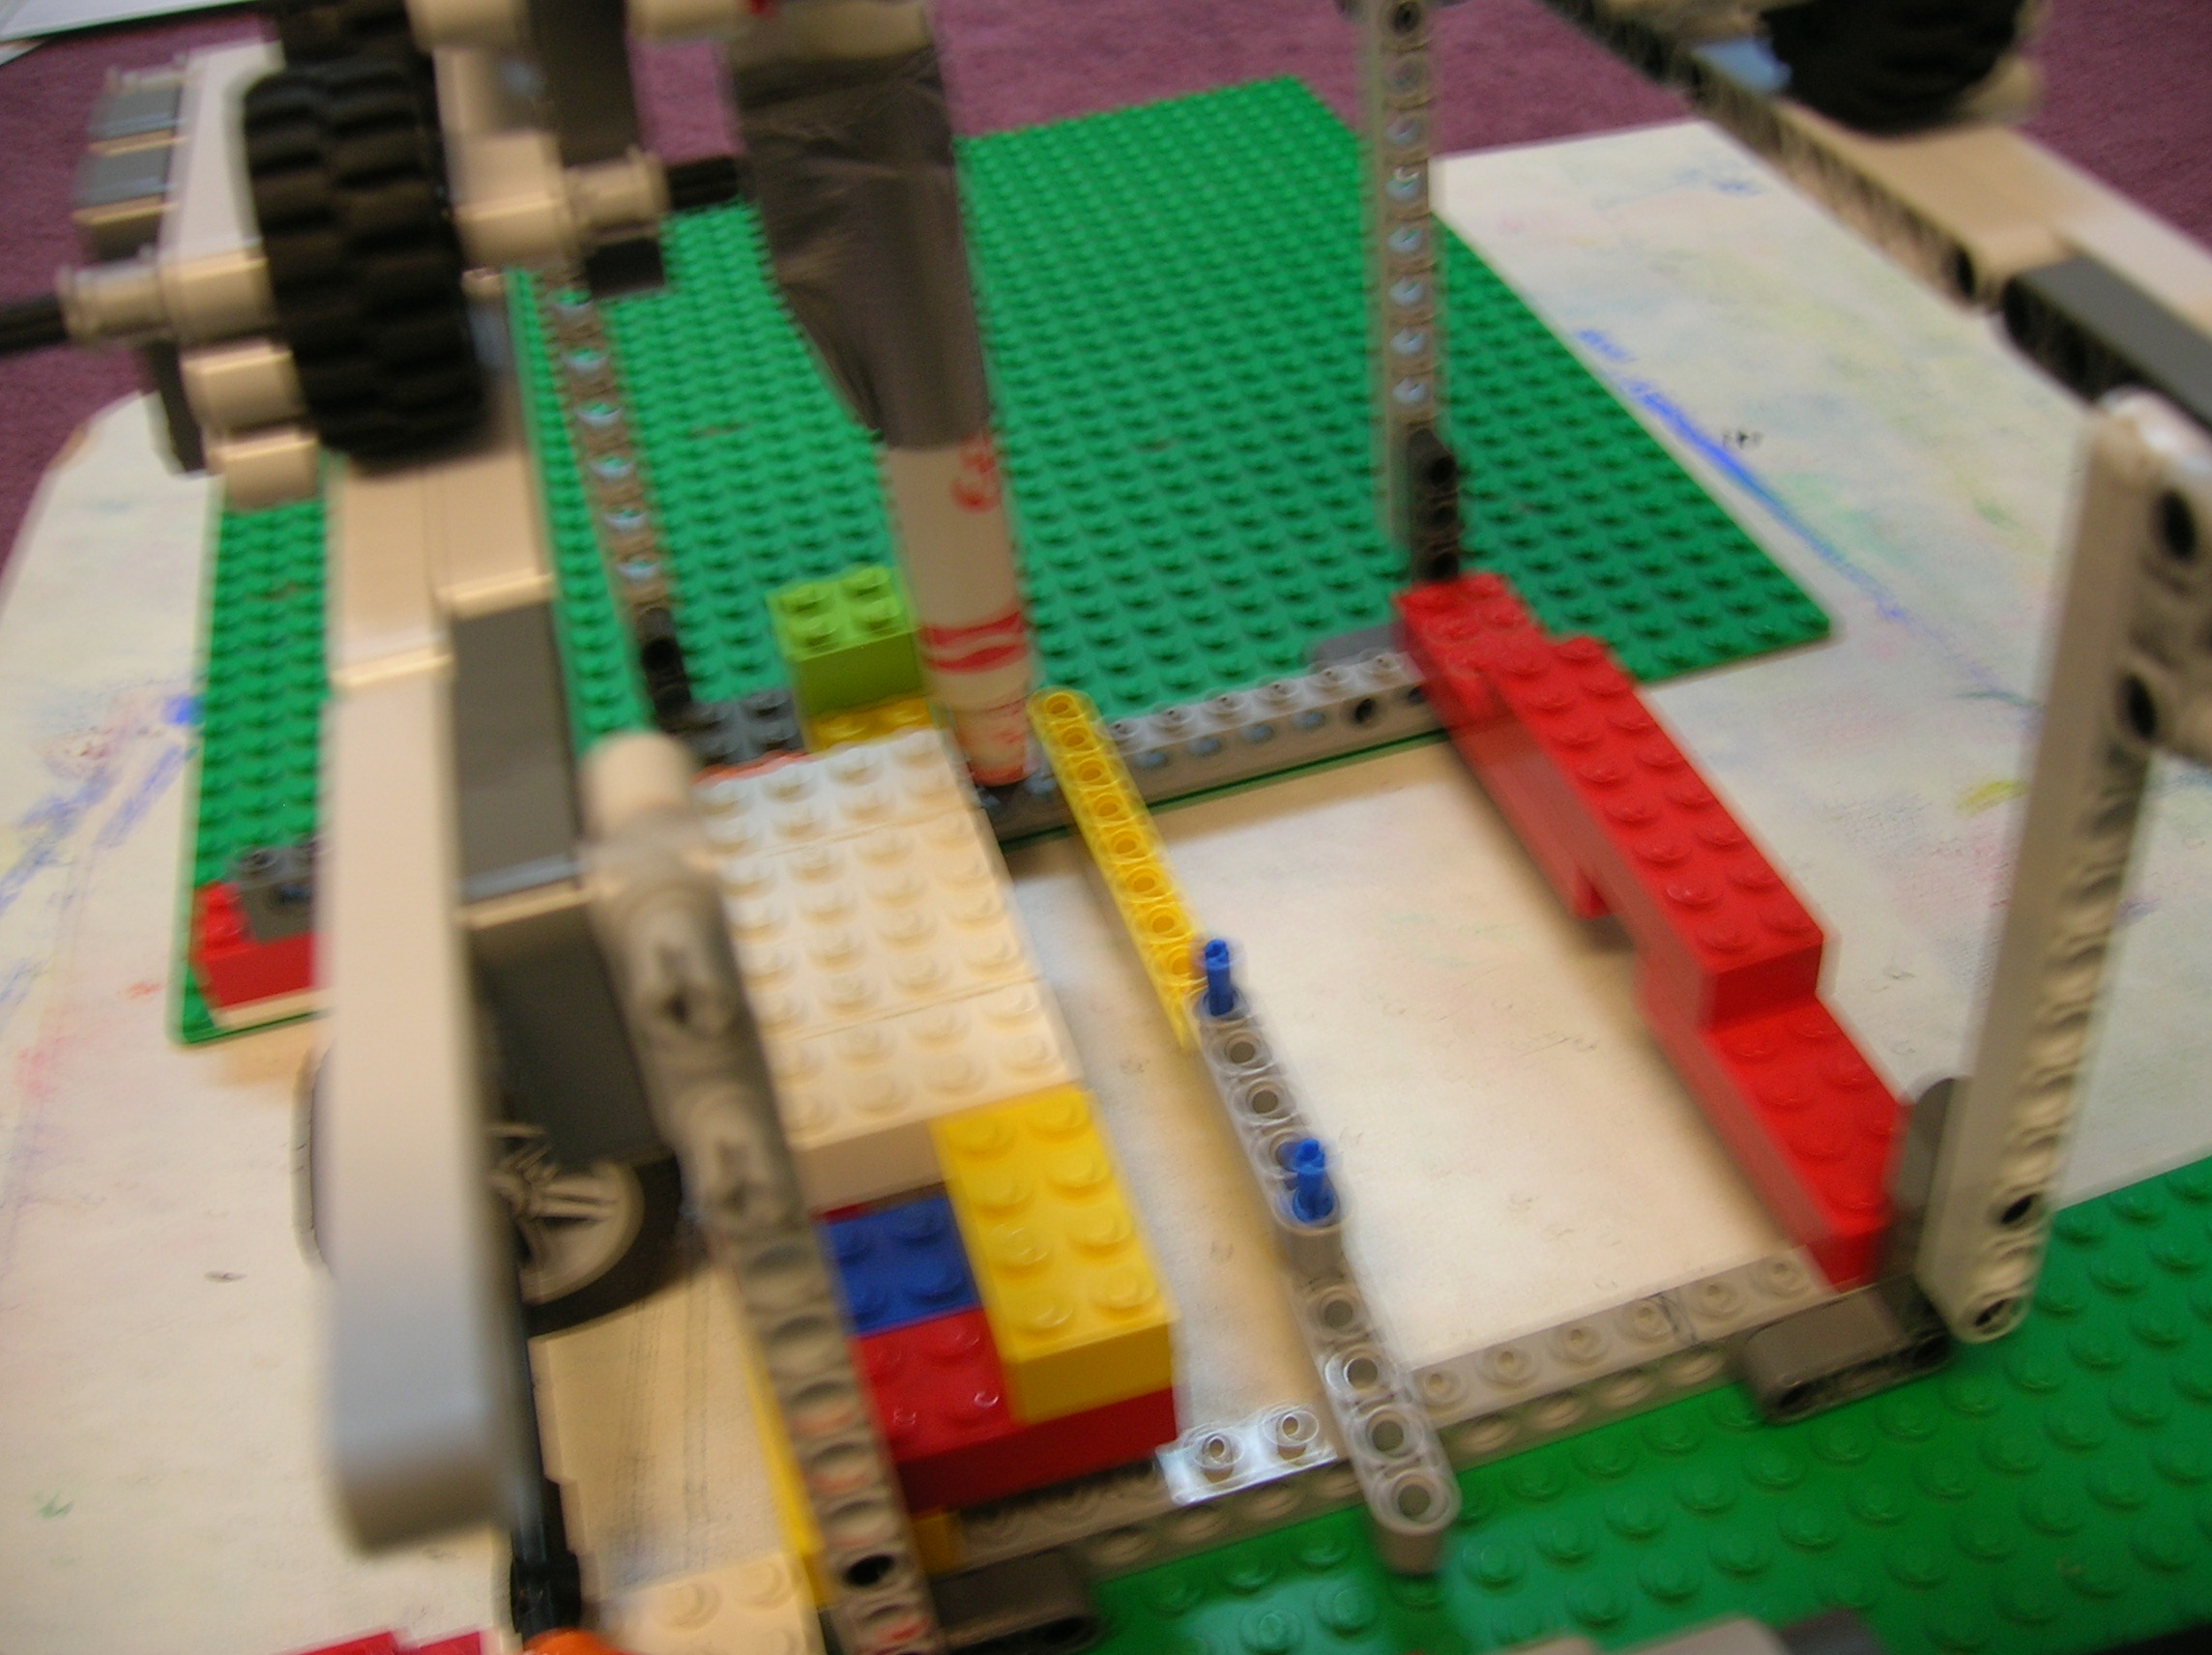
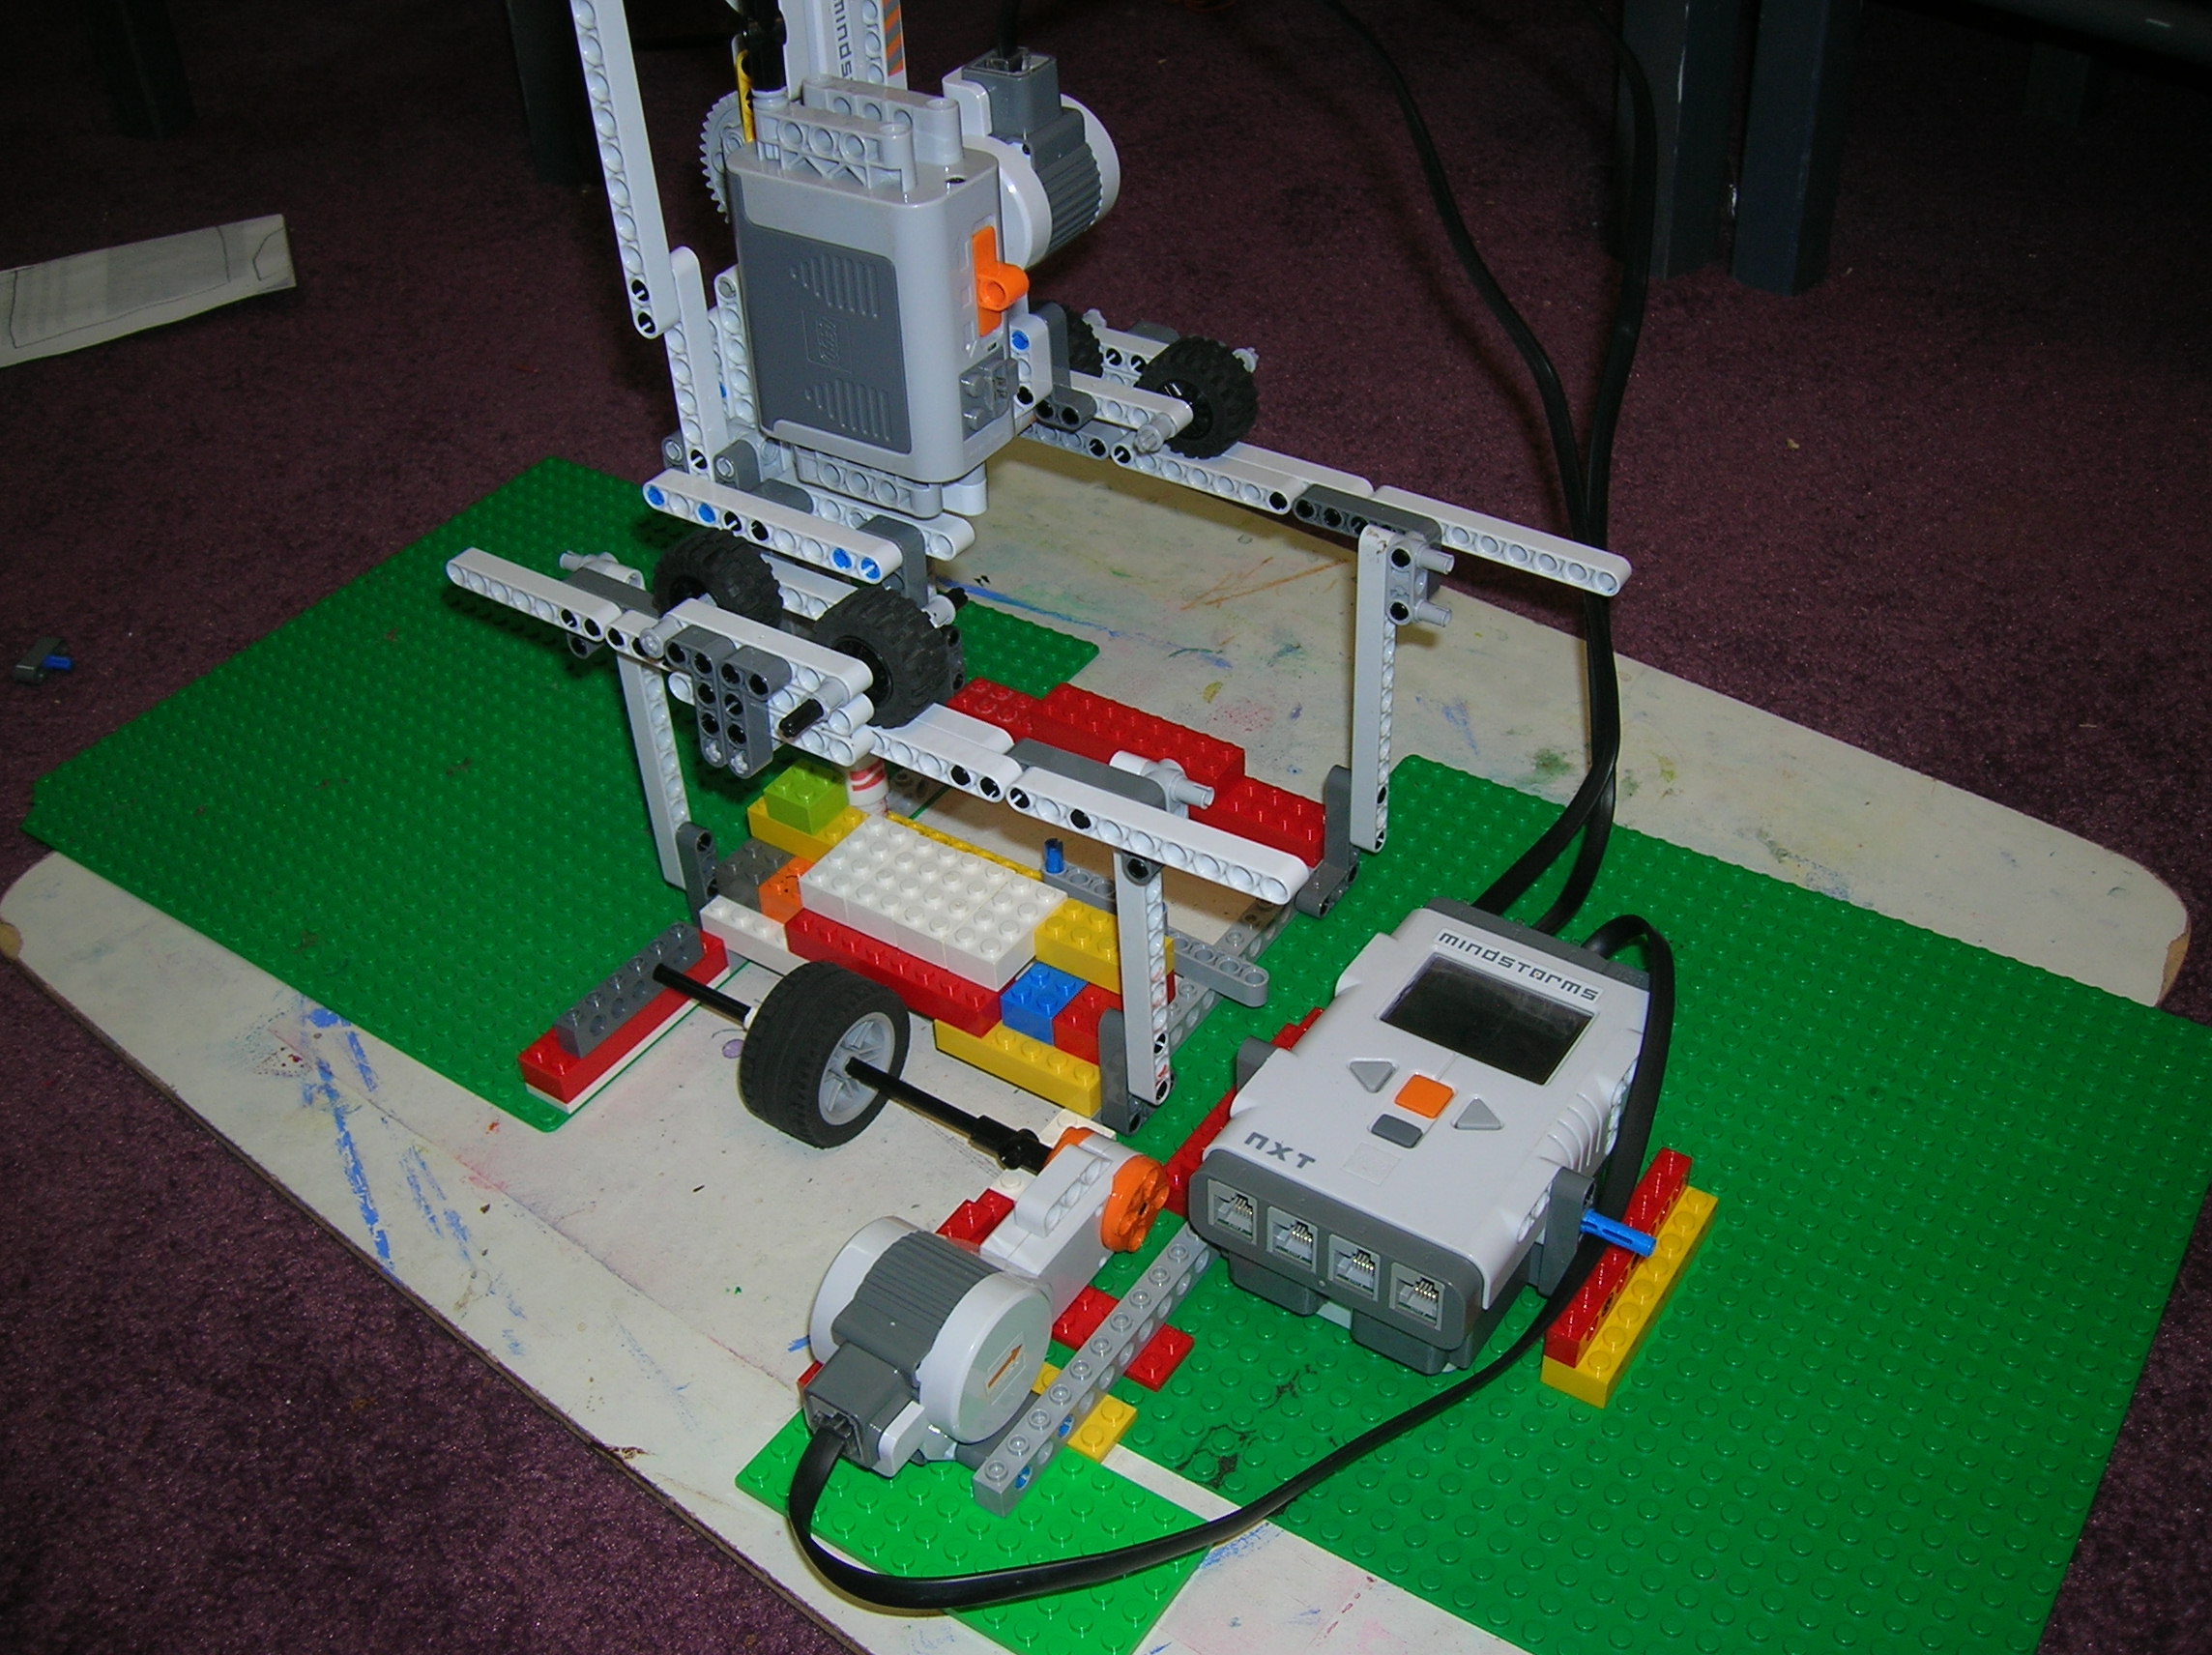
A lego mindstorms printer is a project I have been trying to make for a long time but with no success, but this time it worked! 🙂 It was a combination of better mechanism for moving the pen up and down(a liner actuator. I will feature this mechanism more in this week’s tip or trick.) and it also having a guide for the pen to keep it from moving unnecessarily. This printer works like a normal printer in that the pen moves left and right and the paper moves forwards and backwards the pen also moves up and down. The printer prints paper 4 1/4 inches wide and a unlimited length long. The printer uses a felt tip marker for drawing because it is the most pressure sensitive. Right now I have it programmed to draw a rectangle but in later versionsI will programme it more complex shapes and maybe letters. Here is some pictures and a video:

-

- From the side
Here is the program file to make the printer print a rectangle:
 Also I hope to post the LDD file for this project soon.
-Sebastien
Finished project: Lift Gate (full version)
Here is the full built version I said I would post of the lift gate from the post “lift gate (rough version) “. Here is some pics:


I also said I would post the programme file this project, but I have been having some problems with downloading the programme the mindstorm so I can’t post it right but I will when I have fixed the problem.
Sebastien-
Weekly Tip or Trick: Using Lego Digital Designer Part3 of 3
Welcome to this week’s tip or trick: using Lego Digital Designer Part 3 of 3:
Here is the LDD main window with the different areas number and outlined(click on the image for larger view):

In this week’s tutorial we will cover the brick side bar (4) and the main window(5). Here is the tutorial(pdf):tutorail 3. So this concludes the series: Using Lego Digital Designer. Hope you like it,
-Sebastien
Weekly Tip or Trick: Using Lego Digital Designer Part 2 of 3
Welcome to this week’s tip or trick: using Lego Digital Designer Part 2 of 3:
Here is the LDD main window with the different areas number and outlined(click on the image for larger view):
In this week’s tutorial we will cover the left tool bar (2) and the mode tool bar(3). Here is the tutorial(pdf):tutorail. Next week we will cover area 4 and 5.
Weekly Tip or Trick: Using Lego Digital Designer Part 1 of 3
Welcome to this week’s tip or trick: using Lego Digital Designer Part 1 of 3:
Here is the LDD main window with the different areas number and outlined(click on the image for larger view):
In this week’s tutorial we will cover the main tool bar (1). Here is the tutorial(pdf):tutorail. Next week we will cover area 2 and 3.
Using and installing Lego Digital Designer
Lego Digital Designer(LDD) is Software that lego provides for free for making virtual lego models on your PC. You can take a screen shot of your model and save as a picture. you can also get instructions for your model in the programme and export them in html format.LDD provides a wide array blocks to build with, including the mindstorms brick and all the mindstorms sensors. LDD is relatively easy to install and dos not take a to powerful computer to run.
In the tutorials I’m going to show you how to install LDD on mac and windows.
First system requirements for the LEGO DIGITAL DESIGNER:
The ones on the LDD download page for mac:
- Operating system: OS X 10.5.8 or higher
- CPU: Intel processor
- Graphics card: NVIDIA GeForce 5200/ATI Radeon
- 7500 or better RAM: 1 GB
- Hard disk space: 1 GB
And for windows
- Operating system: Windows XP, Windows Vista or Windows 7.
- CPU: 1 GHz processor or higher.
- Graphics card: 128 MB graphics card (OpenGL 1.1 or higher compatible)
- RAM: 512 MB
- Hard disk space: 1 GB
Here is the link to the LDD’s home page. Here is the tutorials for Installing LDD: for mac , the one for windows is not done so I will post it when it is.

You must be logged in to post a comment.